Fly Fishing Gear
It can be little overwhelming when you get started and the fly fishing gear is no exception in the process of learning to fly fish. Here is an easy to understand breakdown of the fly fishing gear you will need to get started.
Fly Lines
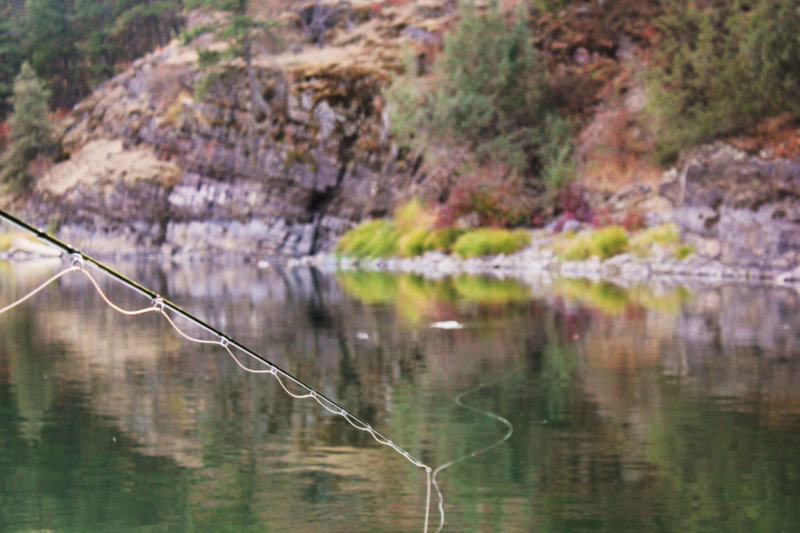
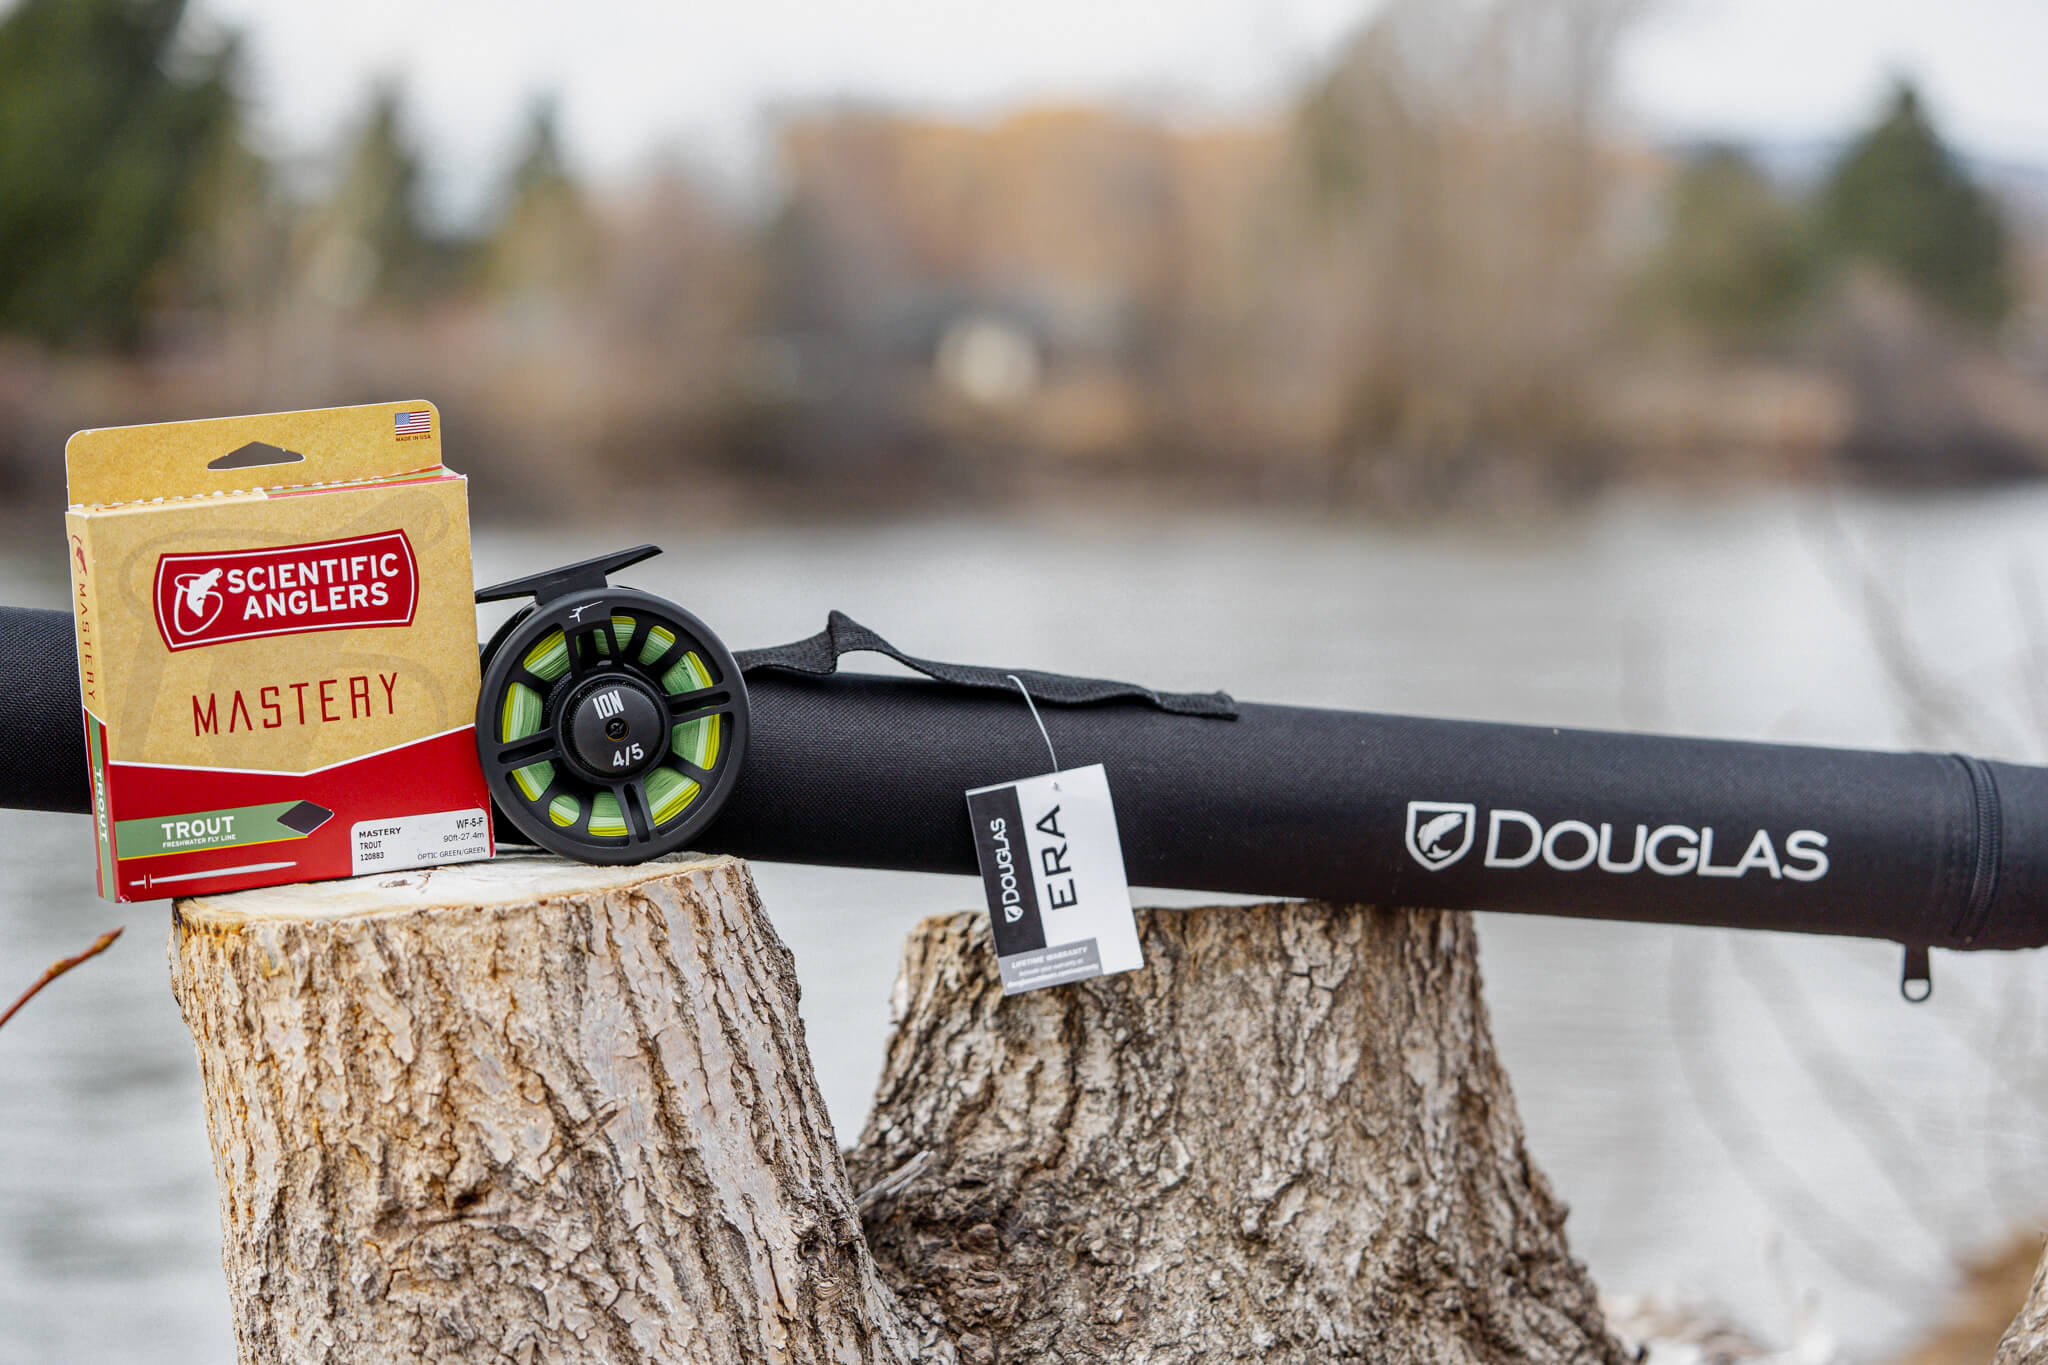
This is the first and most important choice a beginner makes when buying their fly fishing tackle. Fly lines are rated by weight, and sized from 1 to 15 weight. The bigger the number, the heavier the fly line. Click here to see fly line usage.
Since you’re here, we figure you’re starting fly fishing by targeting trout. 85% of all trout fishing is done with 4 through 6 weight lines. Generally speaking, the lighter lines are more stealthy, the heavier lines will throw farther and fight the wind better. Imagine a fly tied to a ping pong ball. It lands very lightly, but doesn’t go very far. Now imagine a fly tied to a baseball. It goes much further, but makes a big splash when landing. That’s fly line weights in a nutshell.
Trout fishing can demand a lot from a fly rod. We fish flies as small as 5mm and as large as 5 inches long (sorry for mixing measurements!) It takes a versatile line weight to cover that.
Line weight for beginners learning to fly fish is a big topic of discussion in the our fly shop. The employees who come from the east coast tend to prefer a 5 wt as their all-around rod. Those who grew up in Montana tend to prefer a 6 wt rod for beginners. The most important thing to remember is neither is wrong. It’s a matter of style and expediency. Easterners are used to smaller water and the need for light presentation. Montanans battle wind and throw bigger flies. Whichever way you go, you’ll be ready for any trout in any waters.
Fly Fishing Rods
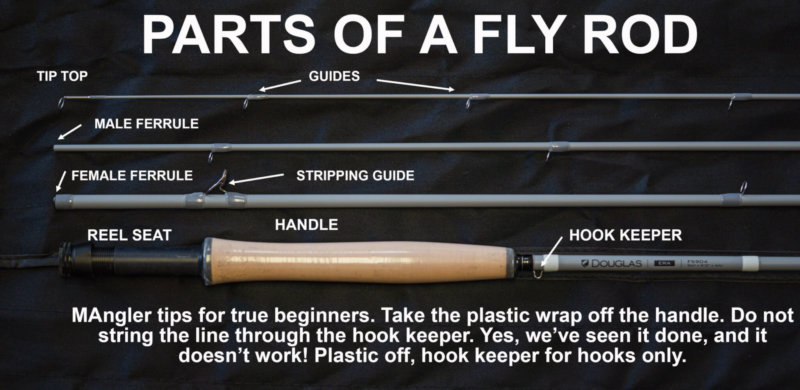
Bet you thought you were going to get an infographic or two on rods. Action, construction, the whole nine. Nope, instead we’re supplying common sense to your fly fishing gear list. Don’t spend too much on your first fly rod. Face it, you have no idea what you want, and there’s an exceptionally good chance you’re going to grow out of it in some way. Don’t spend too little on a fly rod, or you’re going to get crap. Budget over $125, under $300. Make sure it’s 9 feet long, unless the waters you fish are less than 9 feet wide. That’s about it.
Wait, that’s not what other sites say! It’s the magic wand, thunderstick, boom cannon and so many other cute names to describe pieces of tubular graphite with cork and metal on the thick end with funny wires attached. But wait, people are passionate about these things! So are we. Wait till you come to get your second rod! But right now, leave it alone. Get a rod, learn to use it. That’s a lot more important- learning to use it. Take your comparative shopping time and use it to practice casting, you’ll be a lot better off. Click here for an article breaking down the best fly rod and reel packages for beginners. Simplified!
Fly Reels
Fly reels are the dead opposite of spinning reels. If your spinning reel dies, you’re done for the day. There’s no casting with a busted spinning reel. Not true with fly fishing. At its worst, a fly reel for trout is a glorified line holder. At their best, they can be a phenomenal fishing tool. But this is the first one you’re getting as you get started with your fly fishing gear selection, and prices can add up. Since the reel has nothing to do with casting and fishing, if you choose anywhere to save money on your first rod/reel/line combo, save it in the reel. If money is tight, spend on the line and rod- the two that do the work. Sure, you might have to fuss with it a lot near the end, but, if you’ve fished enough to find all the limitations of your fly reel, getting a new one won’t feel all that bad!
Waders and Boots
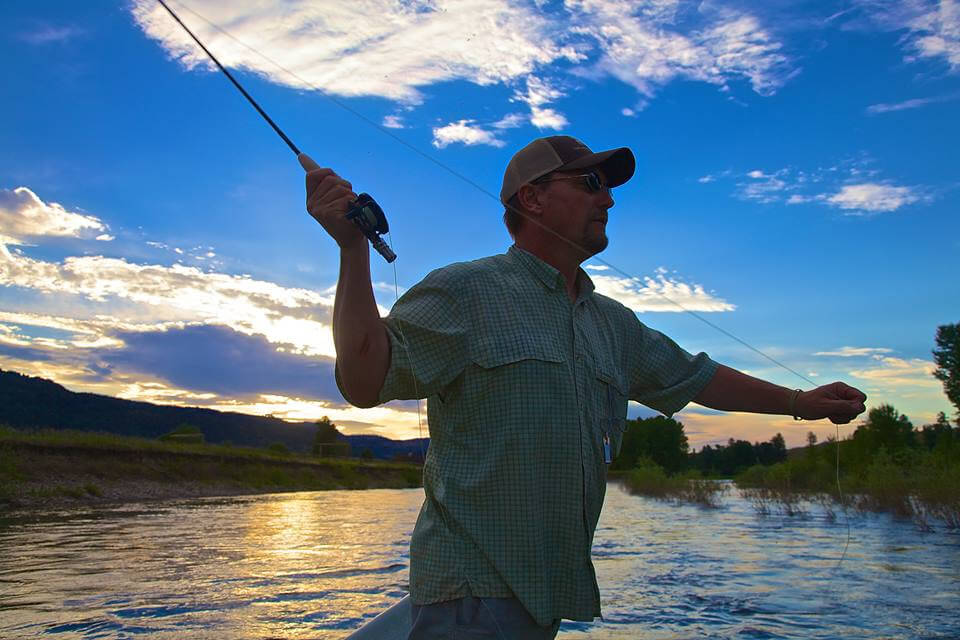
Waders and Boots represent the second and last major purchase as you begin fly fishing and start collecting your gear. And depending on when you start fly fishing, you may be able to delay buying until they’re needed. In Missoula and across Montana, we do a lot of wet-wading (wading without waders) in sandals or wading shoes in the heat of the summer. We don’t care how breathable a wader is, in 95 degree heat, an extra layer is uncomfortable. We wear waders during pre-run-off fishing (March/April) and in the Fall and winter. Waders are also great rain pants in inclement weather, no matter what time of year.
As a young adult, one of the first lessons you learn is warm beer is cheaper than cold beer, and the fastest way to get beer cold is put it in an ice bath. When you wet-wade, that’s essentially what you’re doing. Cold water rushing over your bare legs drains heat and energy rapidly on cooler days. Waders are way less cold. Notice we said less cold. Breathable waders have no insulative properties.
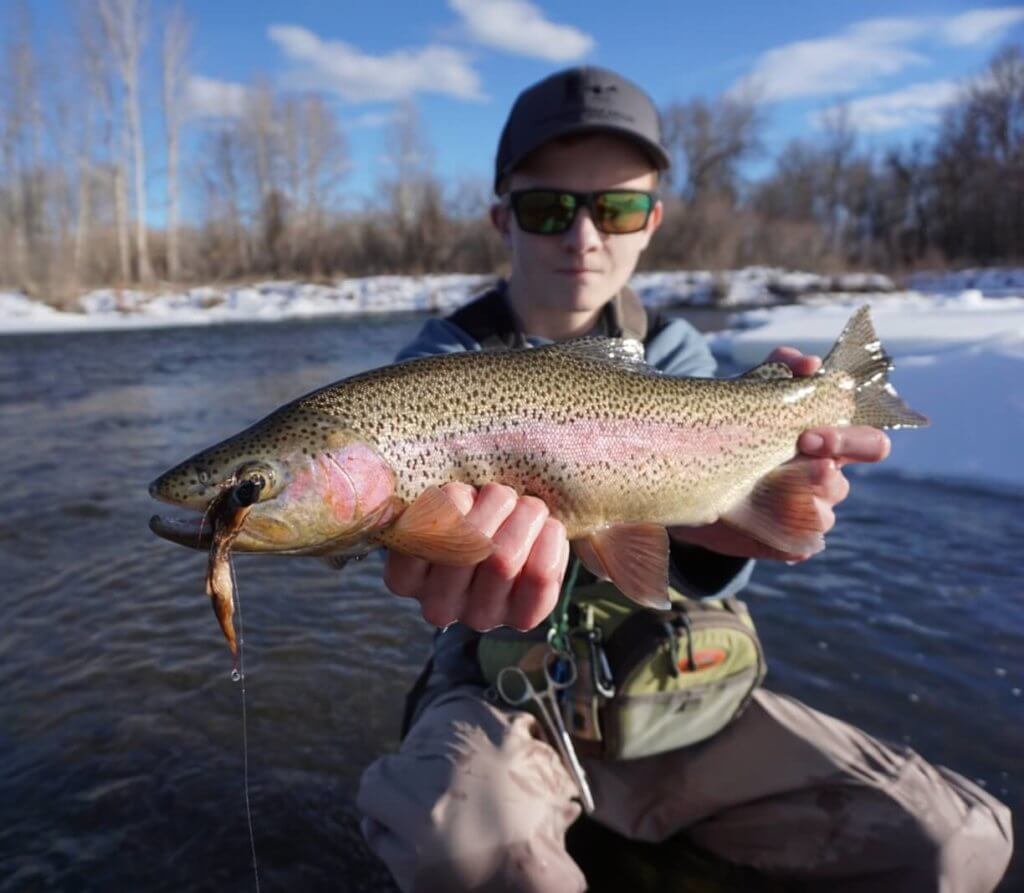
Wait till you come home bone weary from traipsing up and down the river, and a friend laughs at you for being tired after fishing! Experienced waders (wading anglers) move a lot while fishing. Good boots are a necessity fly when walking along the river on uneven, sometimes unstable and even treacherous footing. Then think about walking in the river, bottom covered in slick algae and more uneven than the shore. Ankle support, padding and a thick sole are paramount to comfort.
Felt soles may provide good footing, but they’ve been proven to be an ecological disaster. Yellowstone Park and Alaska have banned felt soles due to transmission of invasive species, and it won’t be long until the rest of the country falls in line. The Missoulian Angler recommends a good rubber sole and studs for traction, though studs are NOT appreciated in a boat or raft.
The Missoulian Angler is a strong proponent for stockingfoot waders and separate boots. You can buy bootfoot waders, but the boot tends to be a little looser around the foot and ankle, providing less support. A bootfoot wader is definitely warmer. The looser boot doesn’t restrict blood flow as a lace up boot does.
You can also save on your fly fishing gear expenses on waders by purchasing a nonbreathable option, like PVC or neoprene. Both have their faults, but price isn’t one of them!
Don’t get hip boots. For wading safety, you need about 6 inches of clearance between the surface and top of your wader/hip boot when wading, meaning hip boots only allow you to safely go about knee deep. Good for fishing, not so hot when trying to cross a river, or get a bit closer to the fish.
Flies
Well, ya gotta have ‘em, or the whole thing is an exercise in futility! We feel the fly is a critical part of your fly fishing gear- it’s the trigger for everything that happens on the water. To paraphrase Mark Twain, the difference between the right fly and almost the right fly is the difference between the lightning and the lightning bug. Here’s a little help to find the lightning!
The nature of insect life in rivers is cyclical. The most effective flies in June are not going to be very effective in August, and of course that works in reverse as well. Flies will add up quickly, especially in Missoula where the hatches are so varied. Before heading out for the day, come into the shop (or head to your local shop) and get a bucket of flies. For that fishing day, most of the flies you use will come out of that little container or small fly box. It really simplifies fly choice.
How do you know which fly to use? If you see a bunch of big orange bugs flying around, tie on a big orange fly. If you see a bunch of small pale olive insects flying around, tie on a small pale olive fly. You don’t need to know the names to make the fly work! If you see big orange bugs flying around and don’t have any in your bucket, the shop didn’t do a very good job. Just saying.
It happens 5 times a year at the Missoulian Angler fly shop. A customer walks in with about 15 little buckets of flies, and says, “What do I actually have here?” We can look in those cups and pretty much tell you when you bought them! More importantly, we can get them sorted out, and into a more orderly method of organization. And no, this isn’t a secret MAngler skill- any fly shop in the country can do this.
There’s a lot to absorb as you start fly fishing. Trust your local shop to get you the flies you need on the water when you head fishing. Believe us when we tell you- shops want to see you back. They’re not going to load you down with a bunch of useless bugs, or you’ll quickly find another that shop that sells you what works.
Want to learn more about selecting flies? Check out this link here for more on selecting flies for beginners or here for an in depth breakdown on each hatch which provides tips for fishing each hatch and what flies match the specific hatch and so much more. We’ve put countless hours in to these hatch specific pages to help make you a better at fly fishing!
Leaders and Tippet
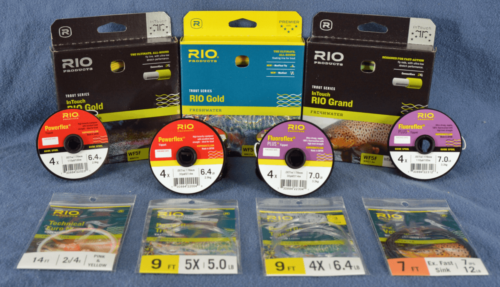
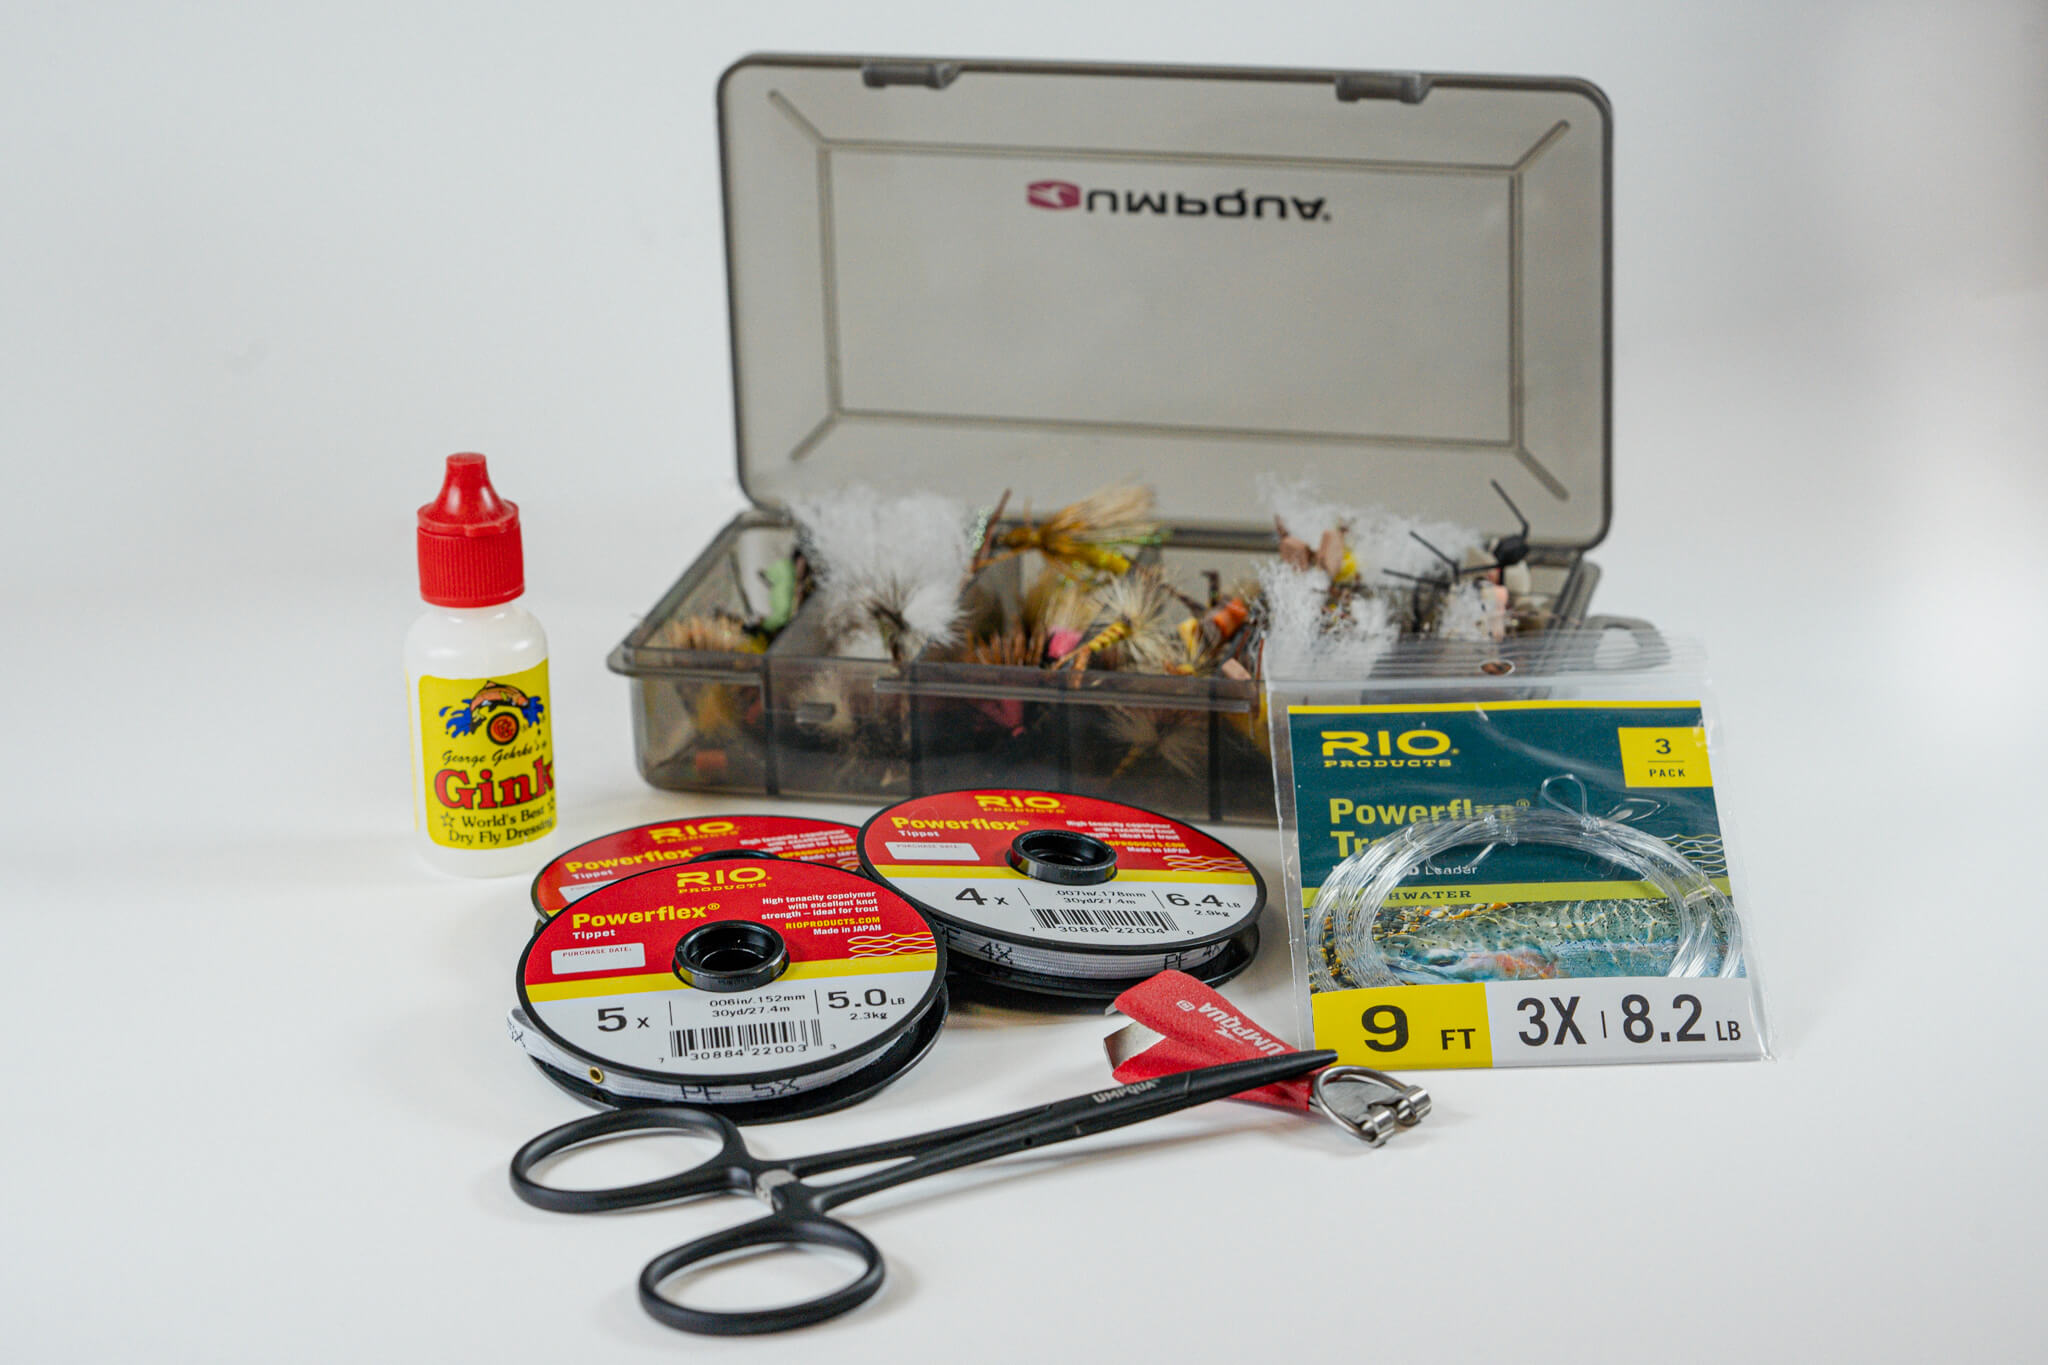
Oh boy, do we have a lot to say about leaders and tippet for your fly fishing gear checklist! But as you just get started, limit the problems by limiting your leader and tippet choices. Get a 3-pack of 9 foot 3X leaders and a tippet spool of 4X. (This will all mean something as you do more angling!) These two tippet sizes will serve you in good stead for 85% of your fly fishing adventures. You might burn through a few more leaders at the beginning, but save yourself a lot of headaches while figuring things out. There’s time enough to get 0X-6X in mono and fluorocarbon!
Click here if you would like a deeper understanding of leaders and tippet. Everything you need to know on one page!
Fly Boxes
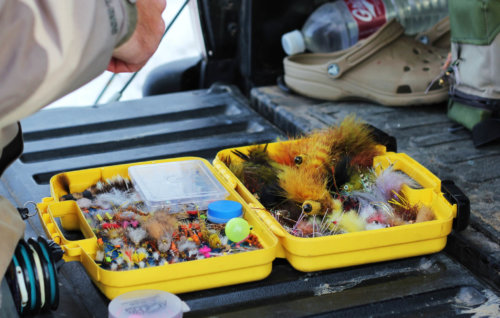
You’ve got a handful of flies, now where are you going to put them? The little cup you get at the fly shop is good for a bit, but it gets tiresome after a while. The diversity of fly boxes available to the fly fisher is almost mind boggling. How do you choose a fly box to fit your needs? (Other than the cheapest you can find, which is often a valid route when you’re beginning fly fishing) What are the things that go into determining what the best fly box will be for you?
It depends on how you plan to carry your flies. If you’re going to put the box in a shirt pocket and use a lanyard, a 9” x 12” fly box isn’t going to work. 3” x 4” is a good size there. But a bunch of 3”x 4” boxes jumbled in a boat bag are highly disorganized, which is where the 9” x 12” fly box comes in very handy. If you wear a vest, get boxes that fill your pockets, not 2/3 sized or oversized. If you use a fanny or sling pack, you have a bit more range in choosing sizes. Size, and how you’re going to carry your boxes is the first consideration when buying fly boxes.
Fly size is the next factor when deciding which fly box is right for you. Shockingly, bigger flies need bigger boxes. A box of Salmon Fly and streamers are going to need a different sized storage system than your tricos or your Perdigon and Jig Nymphs. On the freestone rivers of Montana, we fish flies in a broad range of sizes, and end up needing fly boxes with different configurations to hold the varying sized flies. If you fish where the insects are more uniformly sized, then fly boxes won’t vary as much.
Once you’ve decided on the correct size, the interior comes next. Fly boxes usually utilize compartments or foam to store flies. The compartment is the most basic design, simply dividing the interior of a box into a certain number of compartments. The compartments can be the same size, or vary in size within the box. Some boxes come with movable dividers, for complete customization. Compartment boxes hold a lot of flies for their size, and keep them somewhat organized. Make sure the compartment configuration conforms to the fly sizes you’re carrying.
Foam boxes also come in many styles. Some boxes have foam along the entire bottom, into which the fly is stuck. Great for bigger flies. More commonly, the foam has slits built into it. Instead of sticking the fly into the foam and tearing it up, the fly is slid hook-bend first into the slit, extending the life of the foam. Foam boxes offer a tremendous ability to organize your flies, as the foam holds each fly in easy view.
Most anglers carry both styles of boxes. Classic dry flies, like the Royal Wulff, Stimulator or Light Cahill will be damaged if you store them in a foam box. If a fly’s hackle extends below the barb of the hook, placing the fly in foam will deform the hackle. The fly isn’t ruined, but to restore the hackle to its original shape, the fly will need to be steamed back to shape. Not much fun. Classic dries go in a compartment box, parachutes can go in foam.
Nymphs benefit from a foam box due to organization. Streamers do well in a foam box because all that material can tend to tangle when jumbled around in a compartment box. Foam helps keep your streamers organized and ready to fish.
Opaque, colored fly boxes in both compartment and foam are also available, and have their detractors and proponents. Detractors like a clear box so they can see what’s inside it. Proponents use the boxes as a color coding system- nymphs in the red box, hoppers in blue. Some bright spark has designed a box with an opaque colored bottom and a clear lid to satisfy both sides.
You gaze across the abundant fly box selection in your local shop, looking at boxes with magnets, foam, compartments, integral threaders, clips, and rings to hold articulated flies. Your eyes glaze over and you wonder how much more complicated can fly fishing gear get? Grab a cheap compartment box in the appropriate size. Dump your flies in it. Work out of it until it starts to annoy you. Get another box (You don’t think you’re going to get LESS flies, do you!?), maybe with foam and give it a try. By the time you get to box three and four, you’re going to have a pretty good idea of what you want in a fly box.
Wait till you hit box 9…….. you’ll be an expert!
Floatants
Floatants are basically waterproofing for your dry flies. They are available in liquid, paste, gel and granulated. While all types add floatation to your dry fly, each has its own niche. It’s easy to find the best dry fly floatant for your days on the water.
Gels are the most popular floatant by far. To use a gel fly floatant, tie your fly on the leader. The viscous floatant is dispensed from the bottle to the tips of the fingers, then the gel on the fingers applies a thin coating to your fly, waterproofing it before it lands on the water. You can use too much gel floatant, and waterlog the fly with it, causing it to sink. Gel floatants are put on sparingly. They’re a light exterior coating, not a gooey mess pressed into the fly.
Paste fly floatants are used in exactly the same way as gel floatants- they are simply dispensed from a tin or a small, sealed plastic tub. Same principle as gel, just a different viscosity.
Liquid fly floatants use a fast drying reagent with a paste floatant dissolved in it. Your fly is tied to the leader and then dipped in the liquid. Pull the fly from the liquid and give it a quick couple of flick casts to speed up the reagent evaporation process, and the fly is ready to go. Liquid floatants can be used on a fly that has absorbed water and begun to sink (a common occurrence) by repeating the dipping and drying procedure.
Granulated floatants, sometimes referred to as desiccants, are used on a fly after it has gotten waterlogged and is sinking. There are two application methods for using granulated floatants. Some come in a bottle designed to have the fly placed in it with a closed lid, and then shake the bottle to coat and dry the fly. Other granulated floatants come in a bottle with a brush applicator. Pull the brush from the bottle, and use it to press the grains into the fly, which both dries the fly and adds a floatant as well. Granulated floatants are very popular for reviving a sunken dry fly, and are also used when fishing flies with CDC, a feather that can’t be treated with a paste or gel floatant.
For simplicity, start with a gel or a liquid. If you find you need other types of floatant on then water, get them as you need them. Floatants are essential to your fly fishing gear list.
Dangles
Dangles is fly fishing jargon for tools and paraphernalia you hang off your vest for easy access. While we carry a wall full of dangles, including thermometers, tippet holders, fly patches and more, the only ones you need in your fly fishing gear for beginners checklist are a good pair of nippers with a zinger, and a pair of forceps.
Good nippers are invaluable on the water. You cut mono every time you tie a knot, and you’ll tie a lot of knots! The zinger is a retractable wire on a spool. You pull the nippers out away from your body when needed, the zinger pulls them back out of the way when finished. This keeps them from tangling in your fly line. You’re going to be ASTONISHED at the places a fly line can end up when fishing!
The forceps are valuable as a handle for tying small flies on, and taking the fly from a fish’s mouth. The blades can be serrated, flat or half and half. They all work. We don’t recommend attaching the forceps to a zinger- it never stretches long enough to get to the trout’s mouth, and you end up busting the zinger or putting a hole in your clothing ripping the zinger out. Just clamp them to your vest.
Indicators
Indicators have revolutionized nymphing with a fly. Made from a myriad of floating materials, in many sizes and styles, the indicator serves three functions while fly fishing a nymph.
The first indicator function is depth control for your nymph. The floating indicator, when attached to the leader, doesn’t allow the fly to sink beyond a certain depth. Properly adjusted, the indicator keeps your fly near the bottom, but not snagging on the bottom.
The indicator also works as a bobber. When a trout eats your fly subsurface, the indicator will change it’s path, alerting the angler that a fish (or sometimes the bottom) has stopped the nymph from free floating. When the indicator moves, set the hook. Any variation in the floatation of the indicator requires a hook set.
The third function of an indicator is to help the angler identify drag. The floating indicator on the surface is mimicking the subsurface drift of the nymph. When your indicator is floating drag free, so is your nymph. If the indicator is floating counter to the current, then your nymph is also dragging (Drag being defined as floating counter to the current). Whenever you’re using an indicator, it’s controlling depth, alerting the angler to eats on the fly and showing the angler if they have proper drift on their nymph.
Fly fishing indicators can be made of foam, hollow plastic, wool, polypropylene, balsa or in combination. For simplicity, the larger the indicator, the more weight it can support and is easier to see. Large indicators also make a heavier entrance into the water. Smaller indicators float less weight but make less disruption when hitting the water. Generally, use the smallest indicator that does the job to minimize its impact on the water.
We recommend the beginning angler start with a foam indicator like an Oros or an Airlock. These indicators are the simplest to use, and do an excellent job on the water. Both provide easy adjustment along the length of the leader, which is very important. Because the indicator controls depth, and water depth changes as you move from spot to spot on the stream, indicator adjustment is crucial to keeping your fly in the fish zone, which is just off the bottom. The simple adjustment provided by these foam indicators makes controlling depth easier, and you more successful on the water. There are other ways to nymph without indicators but we suggest to all beginners to add these to your fly fishing gear checklist.
Gear Carriers
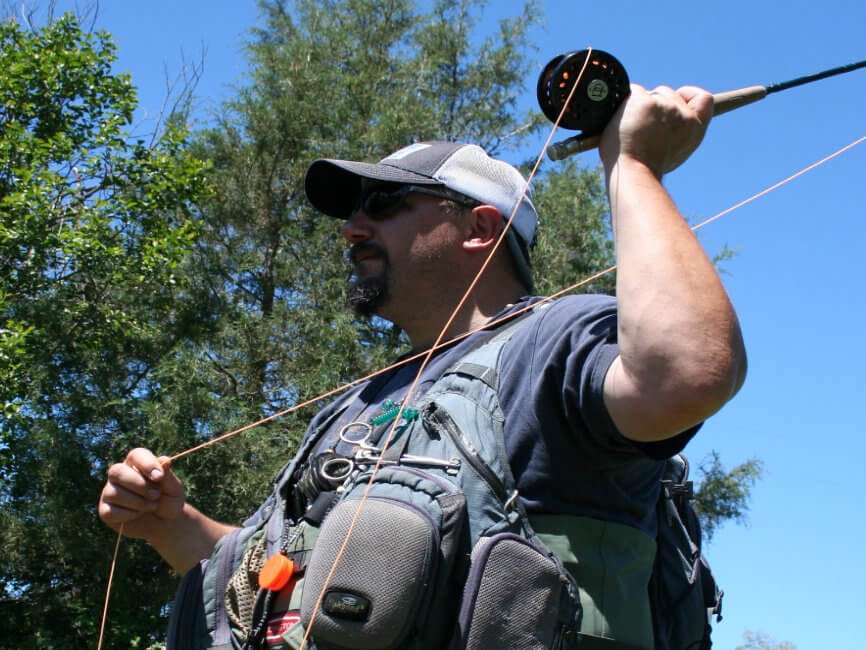
While we referenced the classic vest above, there are many ways to carry all this junk to the river. There are excellent fanny packs and sling backs designed for specifically for fly fishing, or just use the fanny pack you bought for hiking.
We don’t recommend a back pack as much, though they certainly hold gear. But when you need to make a fly change or re-tie your leader mid-river, well, holding the rod and dealing with a back pack can get tricky. A back pack on shore is pretty much useless after you’ve spent 10 minutes wading into position, only to pop your fly off on the first back cast. Get a carrying system that’s easily accessible on the water.
Polarized Glasses
Polarized glasses are designed to cut glare on the water with a thin laminate resembling a venetian blind sandwiched between two halves of the lens. They don’t cut all the glare, but they cut a lot by only allowing horizontal light to come through the lens.
You see lots of advertising showing the water covered with glare, and then a second shot showing multiple, huge trout in plain sight after using polarized glasses. If only it were that easy! Trout are designed to be difficult to see from above, by all predators, including us. Water is dense, moving light in odd ways, and not all the glare is cut. Polarized glasses really help, but aren’t an instantaneous window to finding fish.
If you’re not sure if the glasses you own are polarized, there’s an easy way to check. Take a pair of glasses you know are polarized, and look through a single lens on both pairs at once. Rotate one of the pairs until the lens is 90 degrees to the other lens. If the light is completely blocked, your glasses are polarized. If you can still see through the lenses, your glasses aren’t polarized.
If you don’t have polarized glasses, when you buy, get a big honking wrap-around pair. The wrap-around keeps the sun out, and helps with fighting glare. Glasses are also a safety feature. Every once in a while, an errant cast will come streaking back straight at your nose. Glasses make sure your eyes are protected, and the wrap-around style helps with that.
Nets
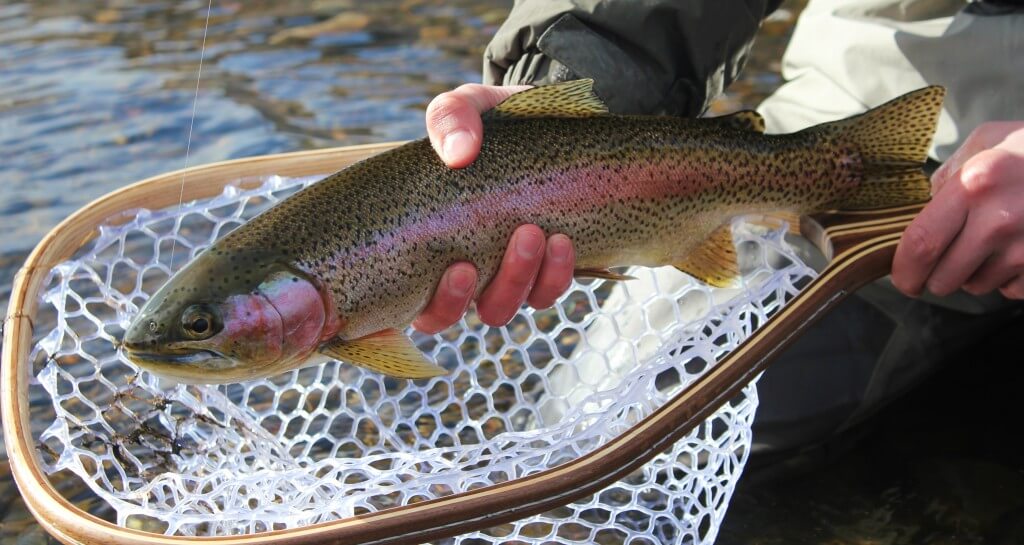
The net is definitely a luxury item. It lands your fish more quickly, and maybe just as important, it helps landing fish and getting a photo! Most fish are lost within 2 seconds of striking or at the feet of the angler, panicking after seeing you. The lighter the tippet you’re fishing, the more often this occurs. A net helps you control a panicked fish.
If you get a net, get a net with a rubber or silicon bag. A classic string net is really tough on the fish’s protective coating. For that matter, so is a dry hand. When you handle a fish, make sure to wet your hand prior so you don’t pull that coating off. The slime protects the fish from waterborne parasites and disease, and if removed the trout is in some trouble after release. Rubber net bags protect the fish.
A net helps the catch and release angler. The trout is fighting for its life, expending all its energy to get away. A net rapidly controls the trout, stopping its struggle earlier than if hand landed. This allows you to release it fresher back into the water, improving mortality rate.
If you’re fishing for the pan, return mortality rate isn’t critical. Make sure you have something for proper dispatch of your catch, and a way to keep them fresh on a hot summer day. In Montana, there are slot limits and other regulations about harvesting fish. Make sure you read the regs before clonking the fish on the head.
A Stupid Hat
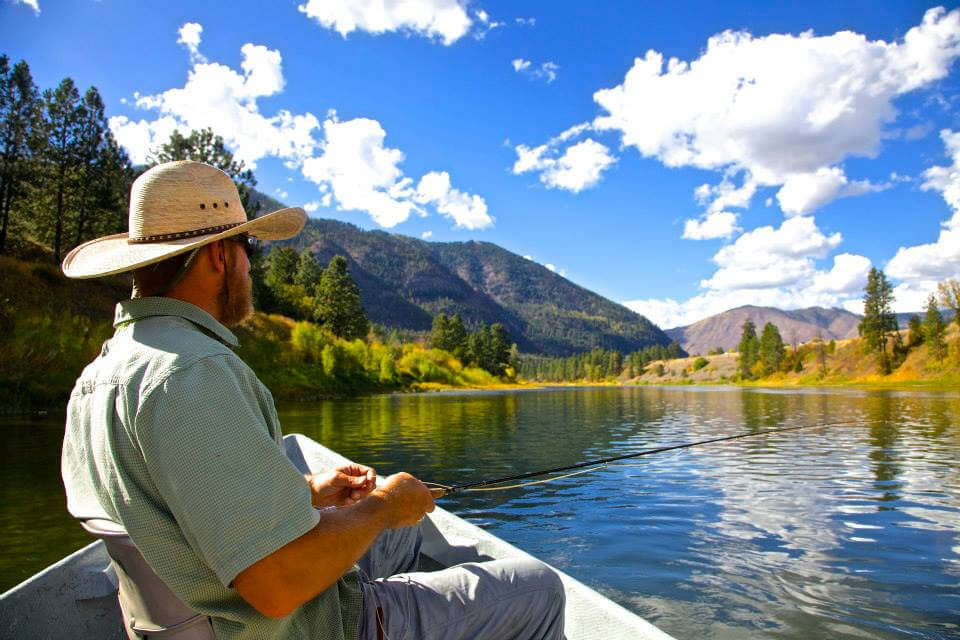
Many feel the fly fisher is defined by a stupid hat. Some anglers wear hats resembling oversized frisbees. Looks stupid, but there’s this- the person who invented the sombrero was NOT interested in fashion. They were interested in keeping the sun off their head! A wide brim also protects eyes and head from errant casts that may occur. Don’t fish without some sort of hat, for safety.
If you find a pre-decorated stupid hat, DO NOT buy it. It’s like TGIFridays restaurants. The first one you go in, the walls are very cool with their decorations. The second one you go in, and see the kitsch is all the same, it loses its charm. Or look at it another way. Do you really want to go to the river and find another person wearing the same outfit? ‘Nuff said.
Cigars
If you buy 12-15 good cigars after reading the introduction, and find you don’t like smoking them, drop the extras off at the shop. George is always looking for freebies!
