Fly Tying – Take Your Season Indoors

Lets start by saying the Missoulian Angler is at the far right on the bell curve. If left is the very casual angler, center is Missoula’s standard out fly fishing 50 days a year, we live on the far right. And if you bell curved the far right, we’d STILL be far right!

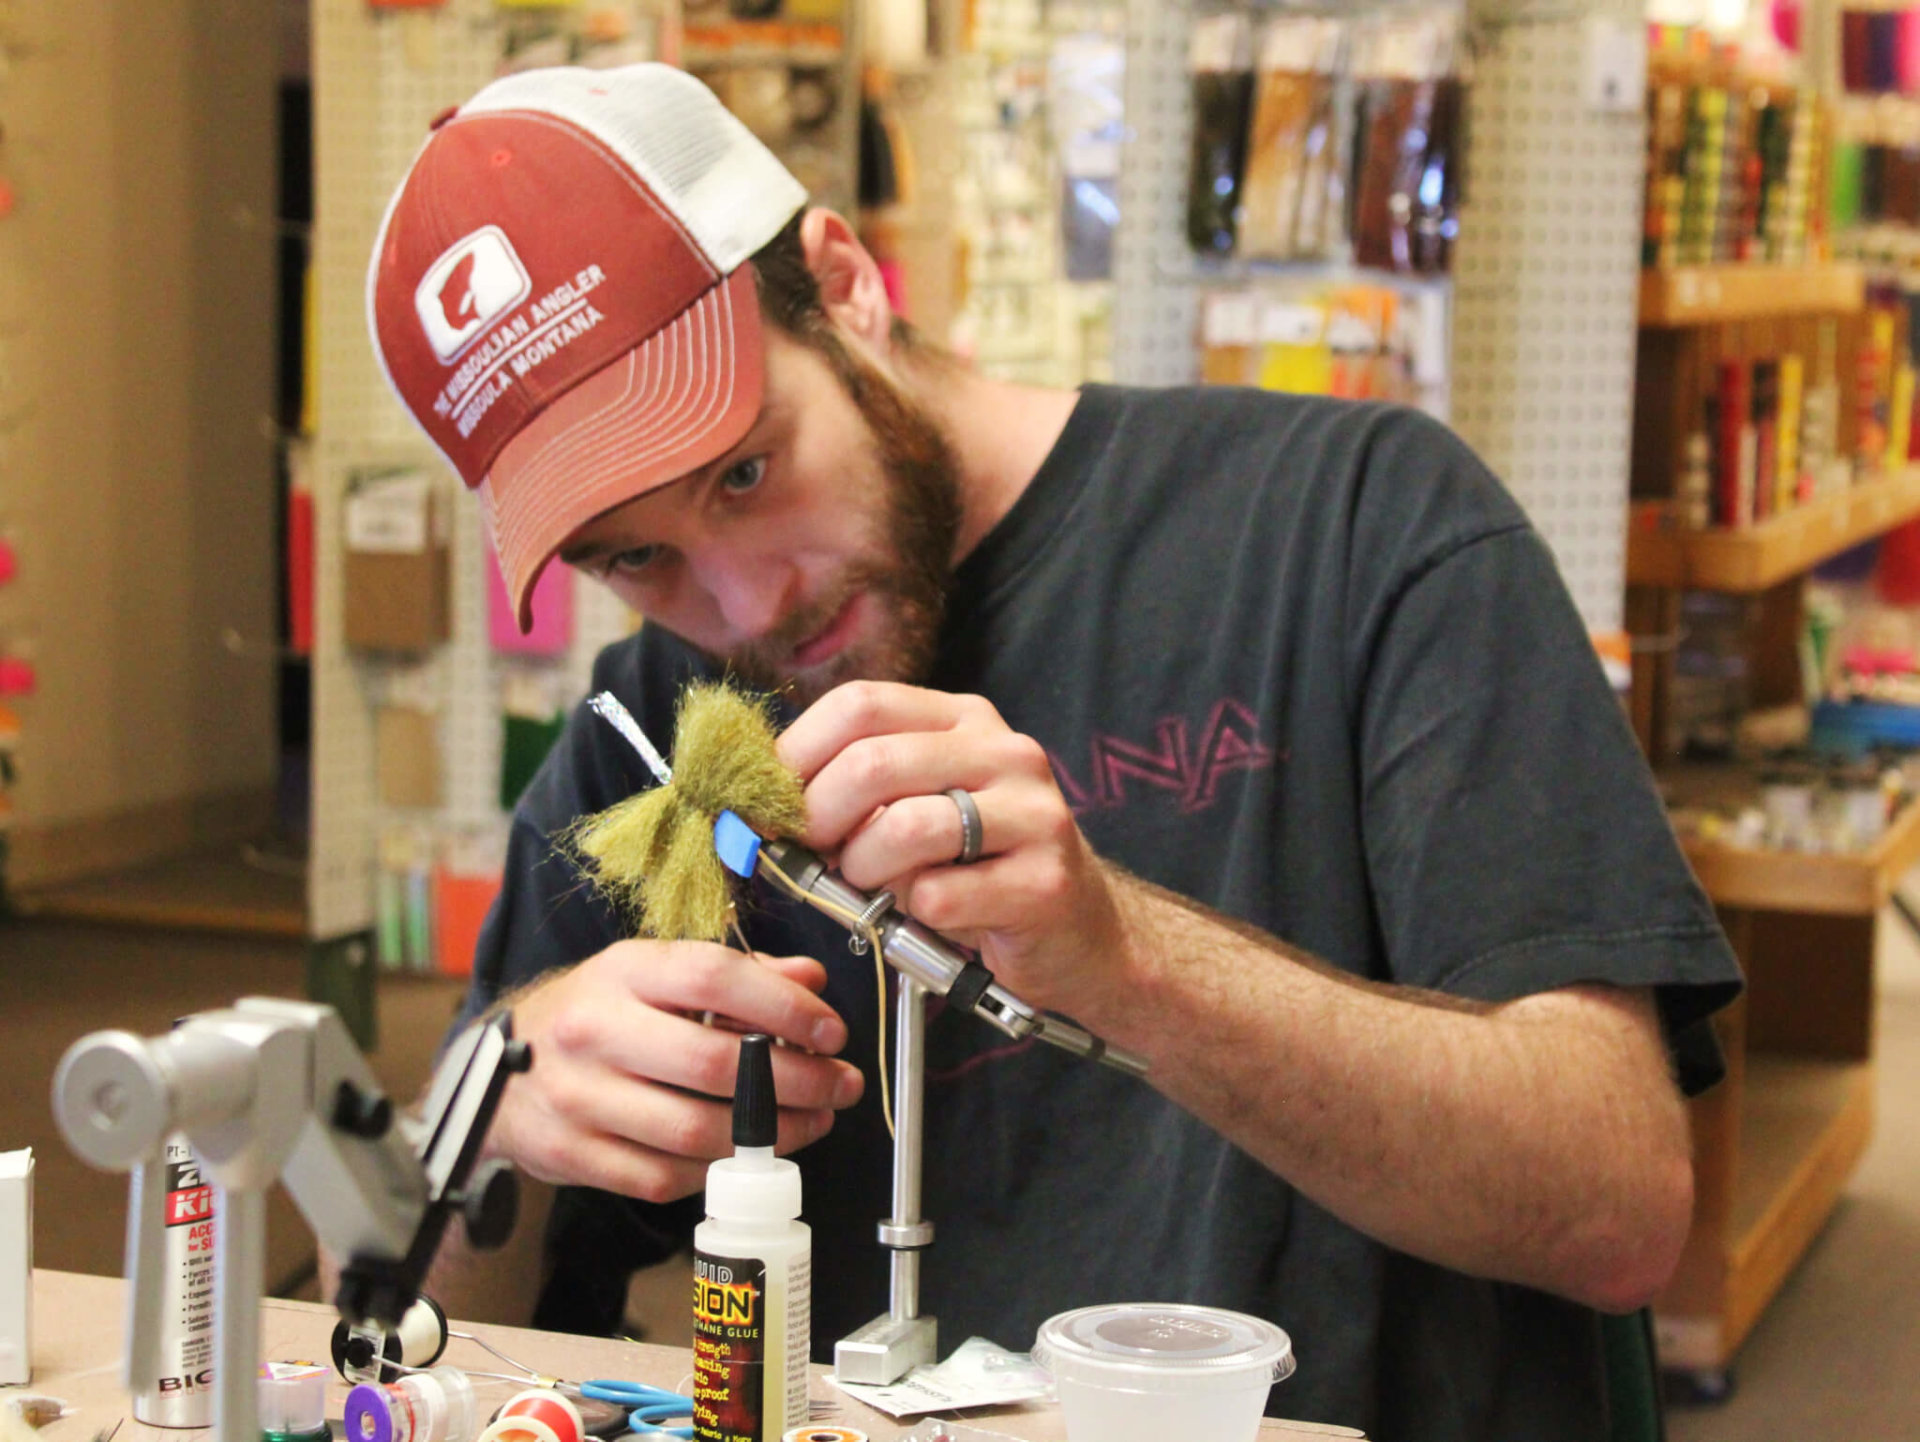
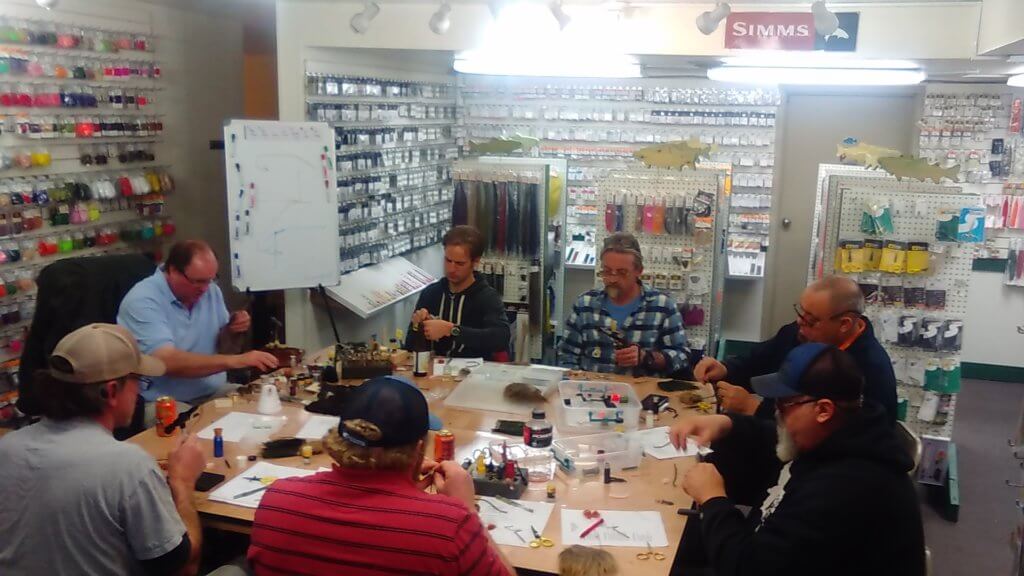
All our employees tie flies. Most have been professional tyers, and we all tie flies for the shop.

We started the same way. Someone told us we might be able to save money by tying flies (HA!) or there was a purer joy in catching fish on a fly you tied yourself (true). Now, we tie because we don’t know any other way.

It’s been said that every fly you tie is a little bit of hope for the season. Every wrap of thread is a plan for the next time you hit the water. And let’s not make any bones about it- you think you can build a better mousetrap! As you bend the materials onto the hook, you can’t help but wonder if THIS is the fly that will turn your season around. That’s what fly tying is about . . .

But it doesn’t happen over night, and there’s the rub. Customers come in all the time and say, “I want to tie the Sex Dungeon and the Royal Wulff. Those are my two favorite flies and I’m always out of them.” We always respond with tying flies is great, but you may need to set your sights a bit lower to start. How about a Pheasant Tail Jig and a Pat’s Rubberlegs? Sometimes it’s yes, and sometimes it’s no.

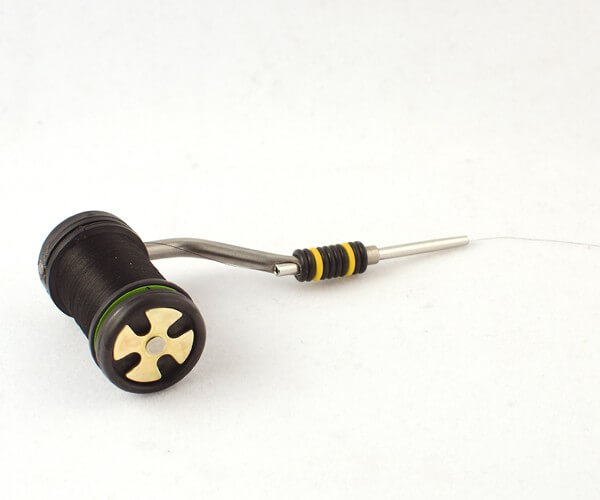
Because fly tying isn’t an art- it’s a hand skill, like hitting a baseball or knitting a sweater. For the same reason you don’t learn to hit facing major league pitching, or start knitting with a multi color, zipper back pant suit, you have to start easy in fly tying. Choose two simple patterns, and start to tie them, like a Pheasant Tail Jig and a Pat’s Rubberlegs! You’ll need tools for tying flies, a place to tie, and the time to spend behind the vise.

And here’s what you get when you start to tie flies. Complaints from your significant other that there’s fuzz all over the house. A bunch of flies that look nothing like the picture on Instagram. Small punctures on the ends of your fingers where the hook inexplicably ended up. A much more varied and colorful way to express yourself when the thread breaks for the 3rd time on one fly. You’ll be in closer contact with your fly fishing buddies, all asking you for “just a couple” of your best bugs. You wonder what possessed you to even start this silly habit.

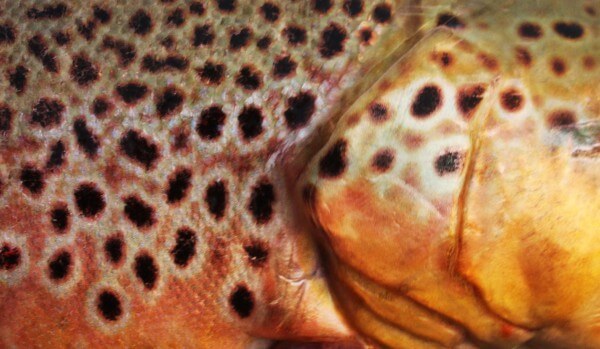
Until you start to see the other side of the coin. It’s more subtle and far reaching, and it doesn’t come immediately. The moment you tie your first Pheasant Tail, you have to think about proportions. The Abdomen is 60% of the body- the Thorax is 40%. Next thing you know, you find out all mayflies have the same proportions, they just vary in size. Pretty soon, you’re looking under rocks and seeing that the flies you’ve been tying aren’t exactly the right color, so you modify that. Your bugs start to look better to the fish.

All of sudden, the shucks on the side of the river begin to mean more. You’re looking at size and shape, and now comparing it to what you’re making. You begin to make changes to your flies, and they begin to work better.

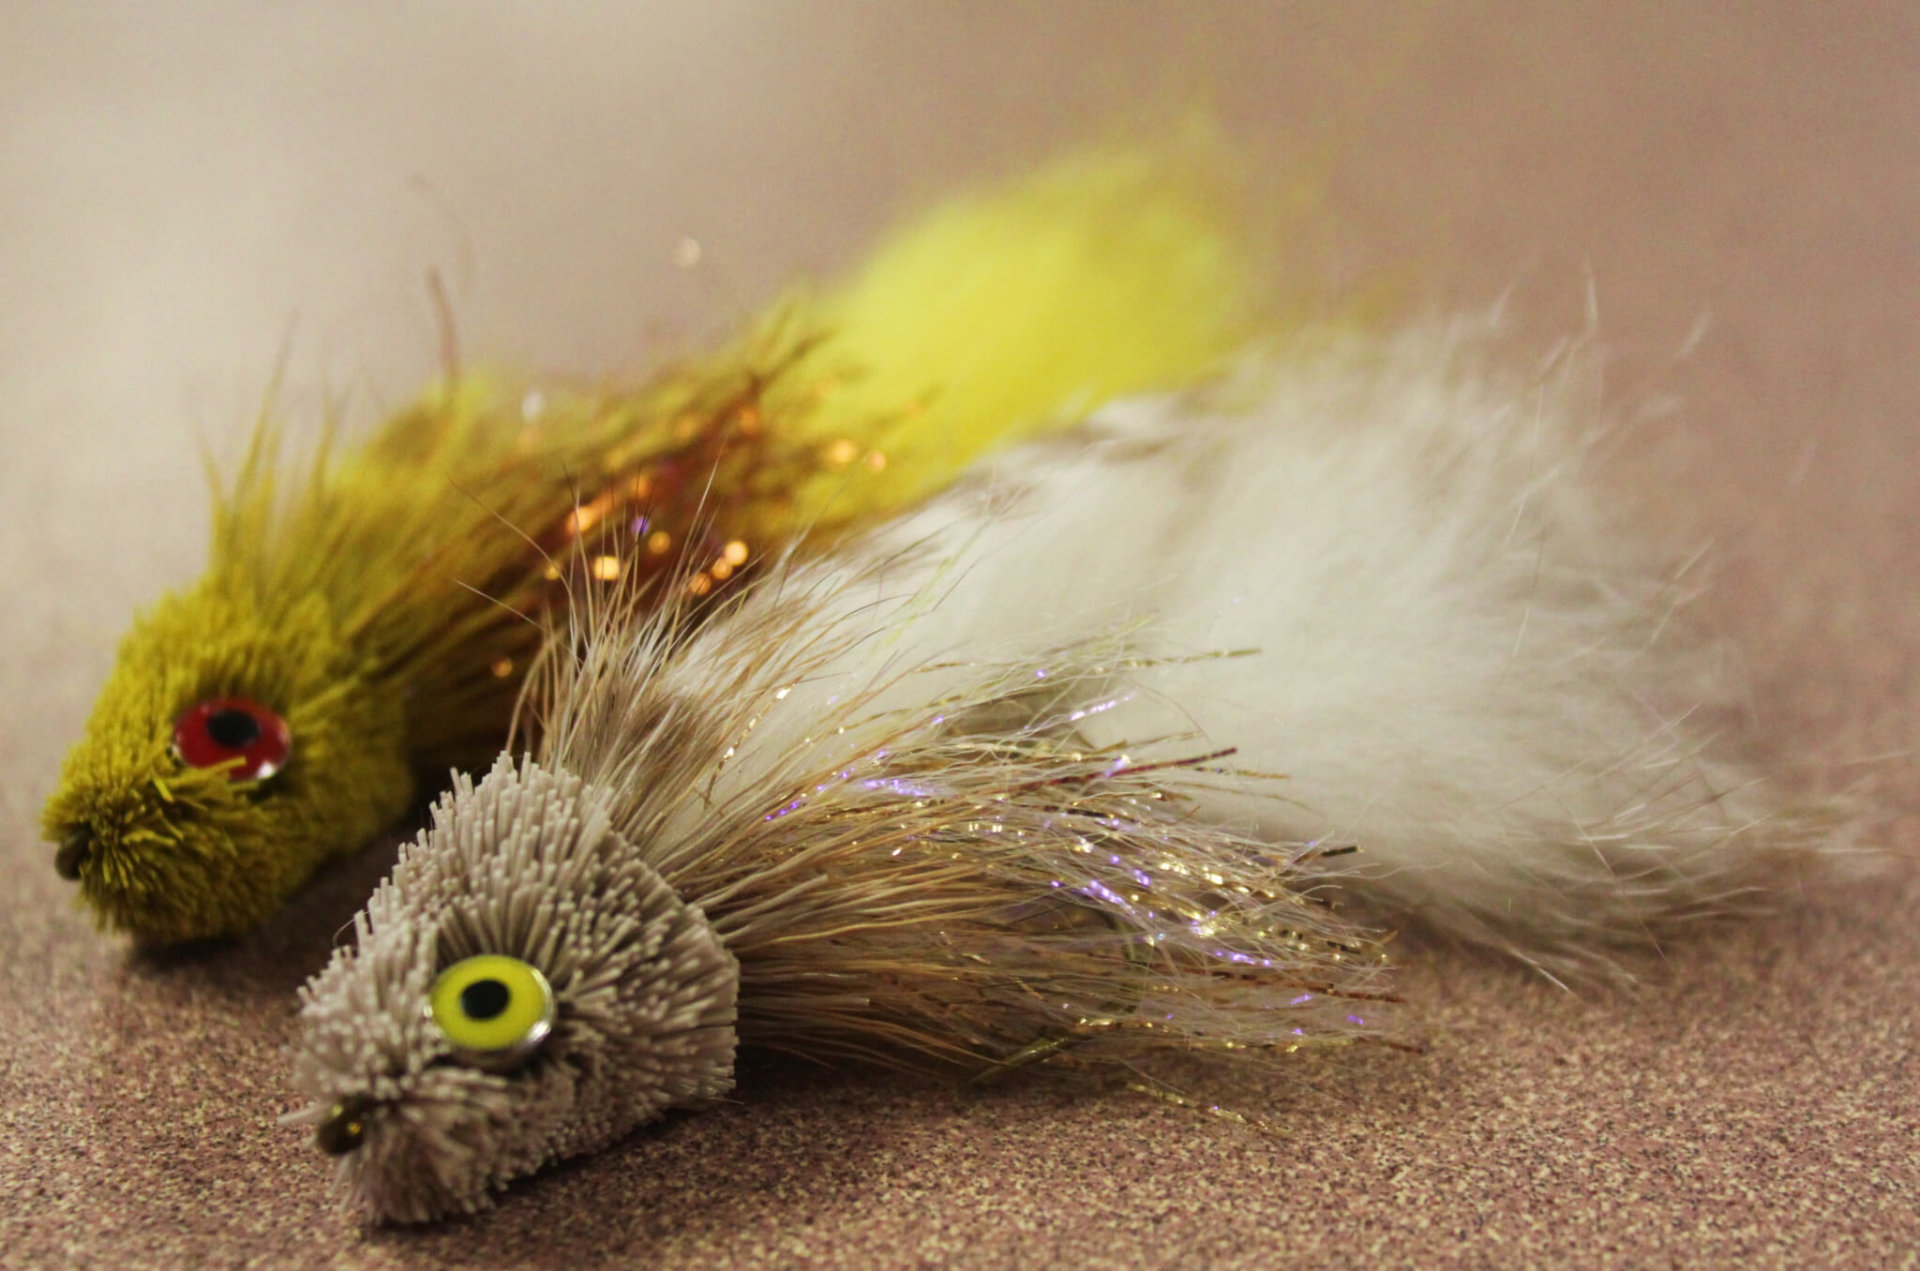
A grasshopper flies by, and it’s no longer just a hopper. You start to notice the hoppers are different sizes. Some have bright red legs, some don’t. They vary in color, and even a bit in shape. Some have very prominent legs, some are smaller. All this goes into the hopper (get it?!?!) and the next time you’re at the bench, you start to make adjustments to your patterns. They start to look more like a hopper you see on the water, not what others think a hopper should look like. You begin to scope the internet, looking at hopper patterns. You see things you like, you see things you don’t like. You begin to steal like an artist!! You take a body from one hopper and the wings from another. Legs from a third and a head from a fourth. You’re observing things as you’ve never done, and now you’re mixing and matching, learning more every time about what a hopper is and isn’t to a fish. Not all will work, but with every modification, you get closer to a hopper that works for you, that you have confidence in.

That’s the real secret about fly tying. Not that you’ll have flies when you need them, not that they’re better tied and more durable. The real secret of fly tying is now you know so much more. You’re looking at the naturals with a brand new and critical eye. They’re no longer random bugs. You’re no longer reading a fishing report and wondering what it all really means. Without knowing it, you’re learning about insect life cycles, and how and where trout interact with them. You’re seeing how the river works- how water, insects and trout all come together. Wait till you find out about clingers, crawlers and burrowers. All of a sudden, a riffle makes more sense. It’s the breeding ground for insects. No wonder trout stack up in there. You’re a better angler.

All because you took your fly fishing indoors. The moment you set up the vise for the first time, and started bending thread to hook, you’re taking giant steps to be ahead of the curve. Soon, you’ll be looking back and wondering how did I ever catch a trout? I had no real clue what was going on on the river! If you really get the bug (get it?!?!) you’re going to expand your pattern listing. You’re going to take some chances with new and different flies- always with the knowledge you’ve earned, knowing they have a very good chance of working. You’re a smarter angler, you’ve traveled further right on the bell curve.

It’s all about success on the water. At the Missoulian Angler, we learn as much from our customers as they learn from us. A fisheries biologist told us that when minnows hatch, they have no air in their swim bladder. They can’t swim until they surface and take in air. Before that time, they just sort of drift with the current. You have a Eureka moment. You have had nymphs taken as if they were a streamer. This explains it! The trout think it’s a minnow unable to swim. We all tied up some very thin, very small minnow imitations to be used under an indicator. They crush fish when the minnows are hatching. We learned more, and that made us more effective anglers.

Learning never stops on the water. It never stops at the vise either. Not just tying techniques and skill level, but that knowledge that seeps in while concentrating of fly fishing. Everything gets ratcheted up just a bit more, and keeps going. You find yourself stepping into the water with more confidence and greater skill. It’s an upward spiral that never really stops. We tell you that from our combined 100+ years of fly tying experience in the shop.

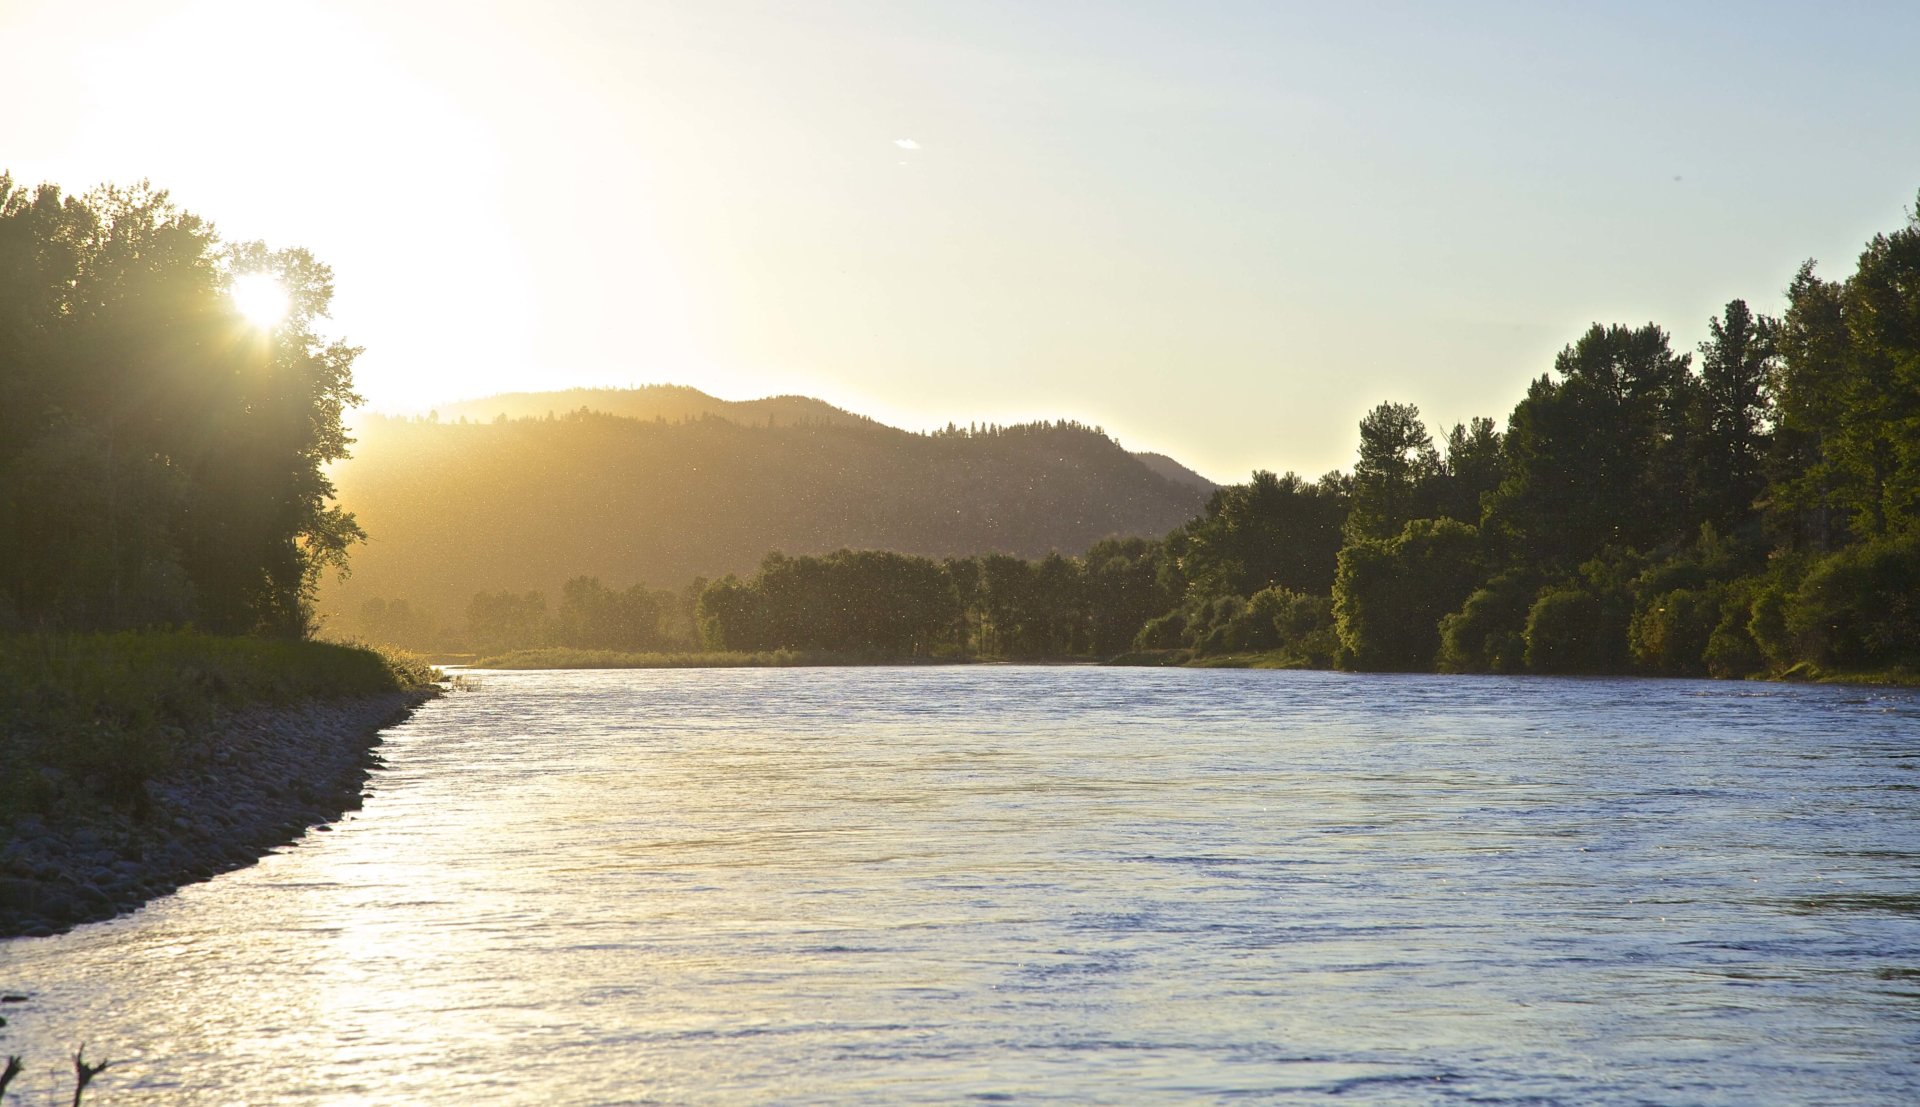
As the weather changes, and opportunities on the water get fewer and farther between, it might be a good time to think about taking your fly fishing indoors. You’ll thank us next year!

Streamer Brown Trout

Quarantine Checklist

The new normal is here, and with it comes time, time on our hands. The standard daily tasks have been up-ended, and we find ourselves home with much less to do and more time to do it. Think of Henry Ford, and his statement, “Whether you think you can, or you think you can’t, you’re probably correct.” It’s our choice, to wilt away our time wondering about what we could be doing, or we can use the time to actually do things that may have been put off for a little bit too long. Will make the time pay.

Ask yourself a simple question. When was the last time you cleaned your fly reel? And we don’t mean falling in last year, when everything got a pretty good dunking. How about the last time you took it apart, cleaned the frame and spool with some soapy water, and then re-lubricated it? If you’re like most anglers, the answer varies from never to a while ago. Well, you might have the time to do it now. Don’t completely disassemble the drag, (unless you still have the instructions!)  just get the spindle clean, and a little fresh grease on it. If you can, stay away from WD-40, as it gets gummy over time. Simple 3-in-1 Oil does the trick. You’ll be stunned how much smoother everything works when there’s fresh lubricant on the reel.

Since you have your reel out, clean your fly line. It’s not tricky. Fill a sink with water and a little dishwashing soap, and then stick the last 30-40 feet of line in the soapy water. Use a couple of glasses filled with water to keep it submerged. Swish your hand around (double duty, cleans your fly line and washes your hands at the same time!), and if you get ambitious, run the line through a soapy sponge. You’ll watch the dirt come off. That’s all you need to do if your line is fairly new. If the line is a bit older, dry it and head out to the garage to get your bottle of Armor All for the car. Dab a little on a rag or paper towel, and run the line through it a couple of times. LET IT DRY! Drape it over something and let the Armor All dry. It forms a slick, protective shield over the plastic coating of the fly line, and gives that older line a lot more life.

Grab your vest. Or fanny pack. Or Sling pack. Or boat bag.  Whatever! Pull your fly boxes out and do a little sorting.  You probably don’t need the Purple Haze that lost its hackle. The rusty McGinty that your nephew bought at a gas station for you, well, it might be time to move that along as well. You might have grasshoppers in 4 different boxes, not to mention the 3 plastic cups you got at different fly shops last year? It’s a good time to consolidate and organize. You might find a few glaring holes that need to be filled, or learn that you have enough PMD’s to last the next 4 seasons. Either way, you’re going to have a better handle on what’s what and where it is after a little organization.

If you’re a fly tyer, the options are endless. The first is easy. Fill those glaring holes! The reason you don’t have any size 16 Pheasant Tails is because you used them all. Get some hooks out, and start filling them. But that might get old fairly soon, knocking out the same fly in the same size for hours on end. Useful, but tedious. So now you have the time, let’s do something new and different.

So many people say they can’t spin deer hair. When the pressure is on, and the boxes need to be filled, you don’t want to stumble about on the vise, struggling for one fly when you need 6. Now you have a little time. Grab that piece of deer hair, the one that has three snips cut out of it, and stick a hook in the vise. Find a YouTube video, and start spinning. No, it won’t be any easier! But you also won’t have the pressure of needing flies NOW. Spin the hair on, give it a trim, and slice it off with a razor. Do it again. And again. If you start to feel frustrated, stop. Go back to filling holes. Come back to the deer hair later. Rinse and repeat. You’ll be astonished how quickly a skill you never thought you could master becomes yours. The same goes for setting dry wings or using a dubbing loop. Branch out. Tie some Deceivers for trout. Whip up a spey fly, or go tiny. For good or not, the time is there. Make it count! You’ll only get better, you’ll have more flies, and learn skills that will help you for as long as you tie.

Knowledge is power. Remember when that bug floated by and you had no idea what it was. And couldn’t ID because it got eaten? Well, now’s a good time to do a little honing up on your bug and hatch skills. Not to toot our own horn, but if you go to https://www.missoulianangler.com/resources/ you will find a wealth of material about Western Montana Hatches, the best flies for Montana hatches and the best tips to fish those flies. The tips have been garnered from some of the best fly fishing guides in Missoula Montana, and are useful to anglers both novice and experienced. If you want to be better informed and more effective on the water, make sure you give our Resources page a hard look.

Unfortunately, many aren’t in a position to put that new knowledge to the test. But there are other ways to experience the joys of being on the water. Fly fishing is blessed with some of the most interesting and arresting authors in any sport. People like John Geirach, Sparse Gray Hackle, Steve Raymond and so many more can bring the joys of fly fishing past the page and into your marrow. We all have treasured memories of time on the water. As these authors share their stories, yours will rise to the surface like a Mahogany on a crisp Fall day. There’s time to read a page and then pause, sitting pretty as we read about our passion, communing with all the fishermen who’ve gone before and will come again. Because it’s going to come again. You can’t keep ‘em down on the farm forever! It’s why we’re cleaning lines and lubing reels, sorting flies and stretching our tying abilities. So when the bell sounds and we emerge from our shelters, we can hit the water running hard, with more flies, knowledge and a sense of why we fish than we ever had before.

Because whether you think you can, or you think you can’t, you’re probably right!

Missoula Fly Tying Classes in Missoula

We don’t care what YouTube says, or how many Instagram post are put up, nothing beats a fly tying class to rapidly learn how to tie flies to fit all of your fly fishing needs. Don’t get us wrong, we’re not down on electronic fly tying instruction, because there’s so much to be learned on the internet. Many of the Missoulian Angler Fly Shop staff haunt the internet, finding out about new flies and new materials. How else do you think we have the best fly selection and fly tying material selection? Because we pay attention to the new and the
old.


But when it comes to teaching fly tying classes, George, Ron and Taylor approach teaching a little differently than a youtube video. Videos often highlight new materials and cool fly patterns. At the Missoulian Angler, we highlight techniques and material handling. There’s a big difference. Our classes are designed to improve a tyer’s skill set in handling materials, not in multiplying their number of patterns. Sure, we’re going to teach useful and innovative flies, but the focus is going to be on how to use the materials easily and efficiently, not the pattern.

Our employees have over 110 years of fly tying experience combined, and over 60 years of professional fly tying and fly tying instruction experience. We tie flies for destinations around the world. Again, the patterns aren’t important. But the skill set attained in tying destination flies translates into a mastery of materials that few others have. It allows us to provide exceptional advice, and the ability to solve pretty much every fly tying issue that arises.


That has tangible benefits for our students. Not only do we have the knowledge base to solve most problems, but it extends beyond that. When you go home and practice (notice the phraseology, not if but when!) there will often be a bit of a struggle. Bring your flies into the shop. We can look at your fly and tell you where the issues are occurring. Just a look at your fly will tell us that the reason your hackle is so sparse is you’re placing your dry fly wing at the 60% point, not the 75% point. Your hackle is being asked to cover too much linear space on the hook, and it looks wrong. Some might think the problem lies in the hackle, but it’s not. The problem lies in the wing placement, and we’re experts at identifying the root of the problem. It’s something the computer age has not yet been able to replicate, the instantaneous solving of your fly tying annoyances!

Boxes loaded with Christmas Island flies tied over the winter for our hosted trip.


We’re not going to lie. We’re more than a little obsessed with fly tying. Taylor roams the internet looking for new, different and innovative patterns.. George is ancient and crabby, and makes sure the shop is stocked with old school tying materials. We pay close attention to our customers, and stock what they’re asking for. We like to think we have the best material selection in Missoula, and a lot of our customers back us up on that claim. Our classes are a great mix of old school and new. We’re completely old school in our teaching concepts and material handling. But we’ve definitely stepped into the 90’s with a camera/TV setup. This allows the student to really see, up close, what’s going on while the instructor ties, as well as making the process smoother and easier. If it helps our students, we’re all for technology.

We run classes in late fall, early winter, and spring. We’re always running beginner and intermediate classes. Our specialty classes vary from year to year. Price for a class is $100, with all materials included. You will need to have your own tools, though the shop has loaner tools for the days you just don’t feel like tearing down your tying station! Call 406-728-7766 or email [email protected] to get the latest schedule.

Fly Tying Classes with George Kesel

Individual Fly Tying Nights with the Man Himself George Kesel.

With the popularity of George’s Fly Tying series this winter we have decided to open up single classes covering various topics and techniques. These classes will be held once a week on Tuesday evenings from 6-8pm. We limit each night to 8 students and the classes fill up quickly so call now(406-728-7766) to reserve your spot. Each class will be $15 per student and you can sign up for one class or all of them. These classes are for intermediate tiers. Call and ask about our beginner fly tying program if you are new to tying.

Handling Hair: March 13th
Starting with a simple streamer and moving through Stimulators and Wulffs, we will take on the
challenges of working with hair on large flies and in small.

Dubbing, dubbing loops and dubbing brushes: March 20th
Dubbing is one of the most under looked aspects in fly tying. We’re going to explore dubbing to
catch more fish, and all the amazing ways that dubbing can be attached to a hook. We will also
discuss and show how dubbing can be custom created to provide bulk, flash, mottling and so
many other aspects of dubbing and dubbing loops.

Building Hard Body Bass Poppers: March 27th
This will be more of a hands off class, devoted more to showing the steps needed to create a
hard body bass bug. We will be detailing a standard bug, created on a hook shank, and then
move off into a very untapped segment of popper design, building a popper that is not attached
to a hook. This second method allows a hard bug builder to create poppers not constrained to a
hook size, and opens up a vast area of popper design.
Advanced fly tying: April 3rd
Are you wondering what it takes to advance your tying skills when you’ve hit that plateau? It
comes from looking at fly tying from a different angler, and learning new disciplines. We’re going
to take some very simple patterns from a few different disciplines – Steelhead, nymphs and dry
flies, and delve deeply into their construction. We’ll focus on methods to improve accuracy,
minimize bulk, while examining methods to create a balanced fly every time you approach the
vise.

Articulation: April 10th
Big streamers catch big fish, but there are some underlying principles that need to be adhered
to when creating an effective fly. We’ll look at basic construction, and study different ways to
create articulations in your streamers.

Mangler Secrets: April 17th
You know we have bugs you can’t get anywhere else! Its because they work! This class will take
you through some of out most successful flies, the flies that have been developed over 25 years
of business. This is the real deal when it comes to finding out why we’re busting out butts tying
in the shop.

Spinning Deer Hair: April 24th

Get into the basics of spinning deer hair, for trout flies, bass and other large species. Deer hair
is one of the most versatile materials in use, and we’ll examine the most effective methods to
create small and large flies, floating and sinking.
Tying tiny
It’s not really a lot more difficult to tie smaller flies, but it does take some different techniques
and thought processes. This class will take you through the different ways to create small,
durable, well proportioned flies. Get comfortable with smaller hooks and improve your odds on
the water

New and Amazing: May 1st
Every year, Mangler gets a whole lot of “new and wonderful” materials to look at. Most aren’t all
that new or wonderful, but some are really, really good. Come learn about and use all the cool
new stuff the Mangler has to make your flies into fish catching machines!

Call Now to Reserve your spot

Spruce Moth Fly Patterns

MAngler Spruce Moth | Tie your own!

 DIY MAngler Spruce Moth 

As the spruce moths are starting to make a comeback, we’re all scrambling to get our hands on some. Ron Beck has a unique way of tying them, and we have a video to get you through each step. These moths are rippin’ lips on the Blackfoot and the Clark Fork, as well as Rock Creek. If you’re in need of supplies to tie them yourself, or you have any come on in and we’ll help you out! 

The Tying Bench

We are starting a new regular post here on The MAngler. Our in house tying genius Ron Beck will be writing tying posts on a regular basis. I know Ron will tell me he is not a genius once he reads this, but it’s the truth. Ron is not only a mastermind at the vice, but he has a head absolutely stuffed full of Montana Fishing knowledge. He is the type of guy that when he talks fishing, you should at least be listening if not taking notes. I can tell you that there have been more than a few days when I am at the shop if the morning with no idea where I should fish that day and Ron sends me to a blue line on a map and I have a day for the books. 

So enjoy the new posts and let us know if there is anything you want Ron to write about. You can even get a few secrets out of him if you bring him a case of Budweiser. 

I am an old dog, not real good with new tricks. I still use the whip finisher and hair stacker that

came with my first fly tying kit almost 40 years ago. I tie on a vise that is older than some of the

employees here at the shop. I usually don’t get too fired up about new fly tying tools. When the

Rite Bobbin arrived in the shop it caught my attention.

I picked up a Rite’s Mag Bobbin to use in a class last winter and immediately fell in love with

it. The obvious difference from standard bobbins is the tension control. The brass tension wheel

is indexed much like the drag on a fly reel. This allows you to apply little or no tension for tying

#22 trikes with 12/0 Benecchi or cranking it tight to set lead eyes on big steamers. I liked the heft

of the bobbin and how the single arm design fit in my hand. I also found the Rite easier to thread

than standard bobbins.

Rite Bobbin

This year, Rite added a half hitch bobbin with a tapered barrel. It looks much like the regular

bobbin, but the tapered end allows you to half hitch or whip finish without picking up another

tool. With a little practice, both knots became second nature to me. The new model also sports

rubber O-rings to hold the thread in place when not in use.

Half Hitch Rite Bobbin

Rite is a Montana company that offers bobbins with long or short tubes. Ceramic models are also

available. It takes a little longer to change spools with the Rite bobbin and they are a bit pricey

($22 to $32), but the extra time and price are well worth it. A bobbin is in your hand more than

any other tying tool, yet the general design has changed very little. The changes Rite has made to

this basic tool are very practical and make tying easier. Stop by and test-drive one at the shop.

-The MAngler

…Because You Fish